Introduction
Capturing and editing screenshots is a crucial skill for anyone working on a Mac. Whether you’re preparing a presentation, sharing a visual, or just highlighting a specific detail, knowing how to crop a screenshot on Mac can save you time and enhance your workflow. In this guide, we’ll cover a simple, step-by-step process to crop screenshots without requiring third-party software.
Why Cropping Screenshots on Mac is Essential
Cropping screenshots helps you eliminate unnecessary elements, making your visuals more professional and focused. Apple’s macOS offers built-in tools that make this process seamless. You don’t need any advanced skills or software—just a few clicks!
How to Crop a Screenshot on Mac in 3 Steps
Step 1: Capture the Screenshot
- Press Shift + Command + 4 to capture a specific area of your screen.
- Use your mouse or trackpad to select the area you want to screenshot.
For fullscreen screenshots, press Shift + Command + 3.
Step 2: Open the Screenshot in Preview
- By default, screenshots are saved on your desktop. Double-click the screenshot to open it in Preview.
If it doesn’t open automatically, right-click the file, select Open With, and choose Preview.
Step 3: Crop the Screenshot in Preview
- Click the Show Markup Toolbar (a small pen icon).
- Use your cursor to select the area you want to keep.
- Navigate to Tools > Crop or press Command + K to finalize the cropped area.
Your cropped screenshot is now ready to use!
Advanced Cropping with Built-In Editing Tools
Using Photos App
- Open the screenshot in the Photos app if it’s saved there.
- Click on Edit > Crop and adjust the selection as needed.
Using Quick Look
- Select the screenshot and press Spacebar to open Quick Look.
- Click on the edit icon (a small pencil) to crop directly.
Common Issues and How to Fix Them
Issue 1: Can’t Find the Screenshot
- Check your desktop or Recents folder. Screenshots are usually saved there by default.
Issue 2: Preview Doesn’t Open
- Ensure Preview is set as the default app for opening image files.
Issue 3: Cropping Isn’t Precise
- Zoom in on the image before selecting the area for better accuracy.
Tips for Better Screenshot Management on Mac
- Organize your screenshots into folders to keep your desktop clutter-free.
- Use descriptive names for your files to make them easier to locate.
- Explore third-party tools like Snagit or Skitch for more advanced editing options.
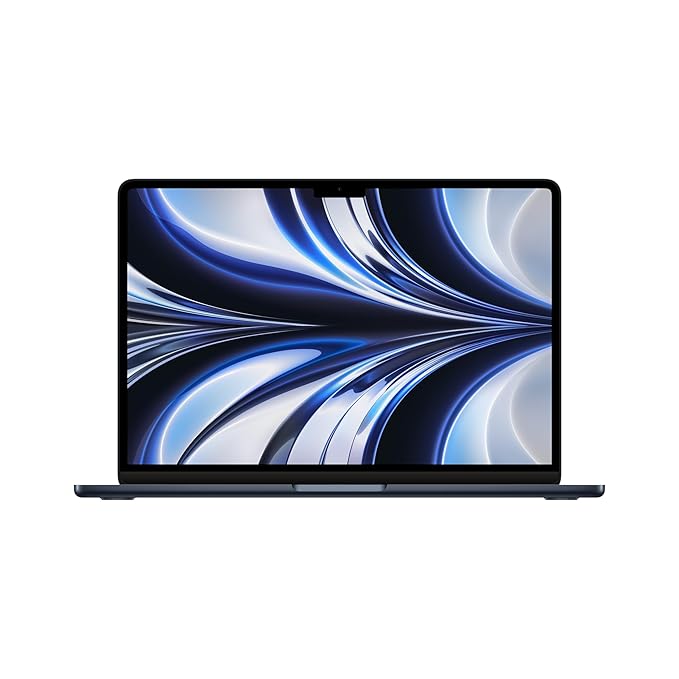
MacBook Air Laptop with M2 chip

About this item
- STRIKINGLY THIN DESIGN – The redesigned MacBook Air is more portable than ever and weighs just 1.24 kg (2.7 pounds). It’s the ultra-capable laptop that lets you work, play or create just about anything — anywhere.
- SUPERCHARGED BY M2 – Get more done faster with a next-generation 8-core CPU, up to 10-core GPU and up to 24GB of unified memory.
- UP TO 18 HOURS OF BATTERY LIFE – Go all day and into the night, thanks to the power-efficient performance of the Apple M2 chip.
- BIG, BEAUTIFUL DISPLAY – The 34.46-centimetre (13.6-inch) Liquid Retina display features over 500 nits of brightness, P3 wide colour and support for one billion colours for vibrant images and incredible detail.
- ADVANCED CAMERA AND AUDIO – Look sharp and sound great with a 1080p FaceTime HD camera, three-mic array and four-speaker sound system with Spatial Audio.
FAQ
You can use the Markup tools in Preview to add text, shapes, or highlights to your screenshot without cropping.
Yes, macOS Ventura offers the same cropping features in Preview as earlier versions of macOS.
Use the Undo feature in Preview (Command + Z) to revert the crop and try again.
Yes, using Shift + Command + 4, you can select the desired area directly during the screenshot process.
Yes, after selecting the area, press Command + K to crop the screenshot quickly.
