How to Share a Folder from Windows 11 to Windows 10: A Step-by-Step Guide
Sharing files and folders between computers running different versions of Windows can seem complicated at first, but it’s actually a straightforward process. If you need to know how to share a folder from Windows 11 to Windows 10, you’ve come to the right place. In this guide, we’ll walk you through the steps to set up folder sharing between your Windows 11 and Windows 10 computers, ensuring seamless file transfer and accessibility.
Sharing a folder is a useful way to allow another user to access your files without sending them individually. If you need to share a folder from your Windows 11 PC to a Windows 10 PC, follow these steps carefully.
Step 1: Enable Network Discovery and File Sharing on Both PCs
Before you can share a folder from Windows 11 to Windows 10, both PCs need to have network discovery and file sharing enabled. Here’s how to do it:
- On Windows 11:
- Press Win + I to open the Settings window.
- Go to Network & Internet > Status > Network and Sharing Center.
- Select Change advanced sharing settings.
- Under Private network, turn on Network discovery and File and printer sharing.
- Click Save changes.
- On Windows 10:
- Open Control Panel and go to Network and Sharing Center.
- Select Change advanced sharing settings from the left panel.
- Turn on Network discovery and File and printer sharing under the Private network.
- Save the changes.
Step 2: Share the Folder on Windows 11
Once both systems are configured for file sharing, it’s time to share a folder from your Windows 11 computer. Here’s how:
- Right-click on the folder you want to share on your Windows 11 machine.
- Select Properties from the context menu.
- Go to the Sharing tab and click Share.
- In the drop-down menu, select the user or group you want to share the folder with. If the Windows 10 computer is on the same network, you should see it listed here.
- Set the permission level (Read, Write, etc.).
- Click Share and then Done.
Now, the folder is shared from your Windows 11 computer to your Windows 10 machine.
Step 3: Access the Shared Folder on Windows 10
To access the shared folder on the Windows 10 computer, follow these steps:
- Open File Explorer on your Windows 10 PC.
- In the left pane, click Network.
- You should see the Windows 11 PC listed here. Double-click on it to open it.
- You’ll be prompted to enter the Windows 11 PC’s username and password if required.
- Once connected, you can access the shared folder from your Windows 10 computer.
Now you can easily share a folder from Windows 11 to Windows 10 and access its contents.
Step 4: Troubleshooting Common Issues
If you encounter issues while trying to share a folder from Windows 11 to Windows 10, here are a few troubleshooting tips:
- Check Firewall Settings: Ensure that both PCs allow file sharing through the firewall.
- Make Sure Both PCs are on the Same Network: Both your Windows 11 and Windows 10 devices must be connected to the same local network to share folders.
Ensure Correct Permissions: Double-check that the folder permissions are set correctly on the Windows 11 PC.
Step 5: Set Up Persistent Folder Sharing
If you need the shared folder to always be accessible from your Windows 10 PC, you can set up persistent sharing:
- On your Windows 10 PC, go to File Explorer.
- Click on the Computer tab and select Map Network Drive.
- Choose a drive letter and enter the folder path (e.g., \\Windows11PC\SharedFolder).
- Check the box for Reconnect at sign-in and click Finish.
This will ensure that your Windows 10 machine can automatically access the shared folder each time you log in.
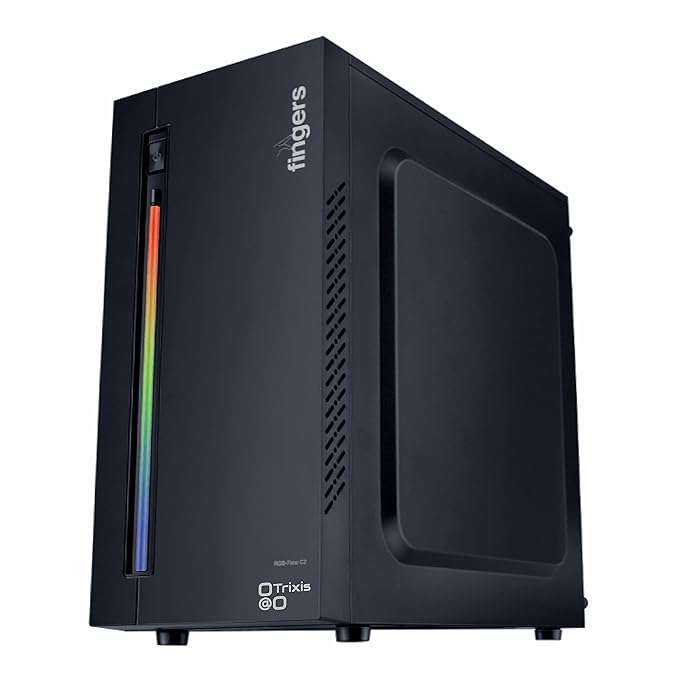
Trixis Fire 5515 Desktop PC

About this item
- High-Performance i5 4th Gen CPU: Experience powerful computing with the Core i5 4th generation CPU, perfect for smooth multitasking and demanding tasks.
- Reliable H81 Motherboard: The H81 motherboard ensures stability and dependable performance for all your computing needs.
- 16GB DDR3 RAM: Run applications effortlessly with 8GB of DDR3 RAM, providing efficient performance and smooth operation.
- Ample Storage Options: Benefit from a capacious fast 512GB super-fast SSD, offering ample storage space and rapid data access.
- Pre-installed Basic Software: Start using your PC immediately with pre-installed essential software for productivity and entertainment needs
FAQ
You can disable password-protected sharing on both PCs by navigating to the Advanced Sharing Settings in the Control Panel. Under All Networks, turn off Password-protected sharing.
Yes, you can share multiple folders from Windows 11 to Windows 10 by following the same process for each folder. You just need to ensure the correct permissions are set.
Ensure that both PCs are on the same network, file sharing is enabled on both machines, and the folder permissions are correctly set. Also, check if the firewall is blocking the connection.
Sharing a folder over the internet requires additional configuration, such as using cloud storage services like OneDrive or Google Drive. Alternatively, you can set up a Virtual Private Network (VPN) between both computers.
To stop sharing, right-click the shared folder on your Windows 11 PC, go to Properties, and under the Sharing tab, click Stop sharing.
